Use Invoices to get paid by your clients on time. With popCRM you can easily create and send invoices to your clients here are the steps to be followed.
Navigate to Dashboard.
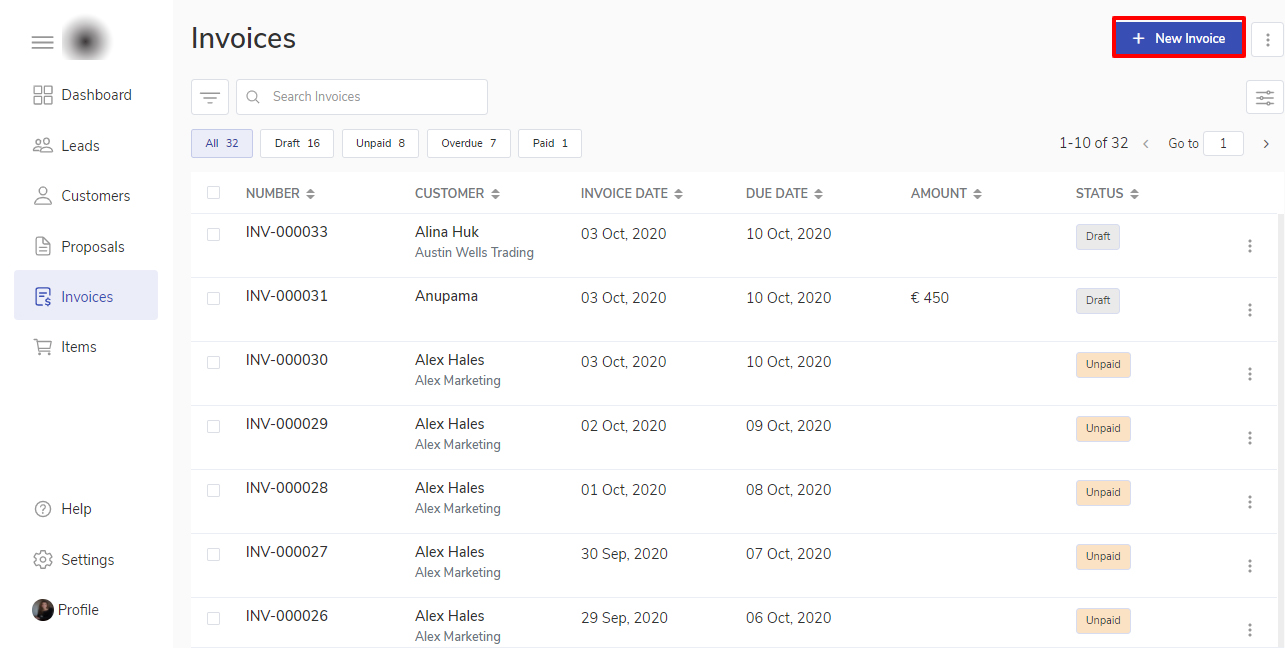
Click on the Invoice module.
Click on the + New Invoice button.
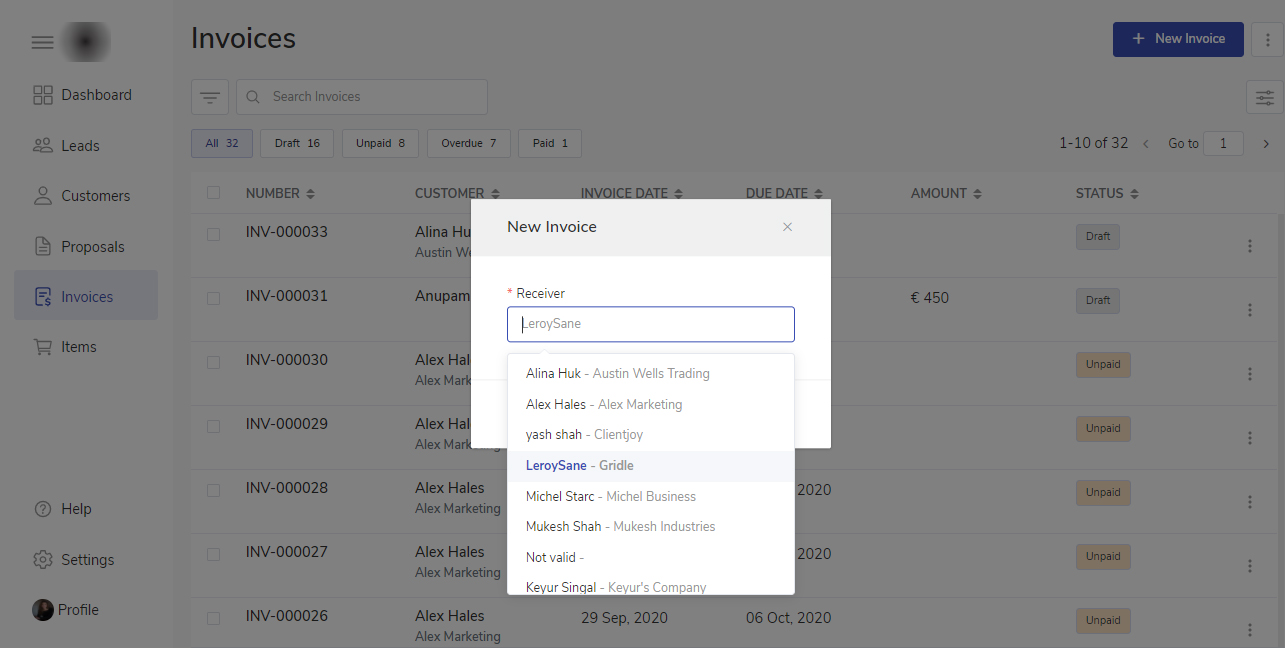
A modal will open for New Invoice. You need to type the receiver name and click on Create button to create a new invoice.
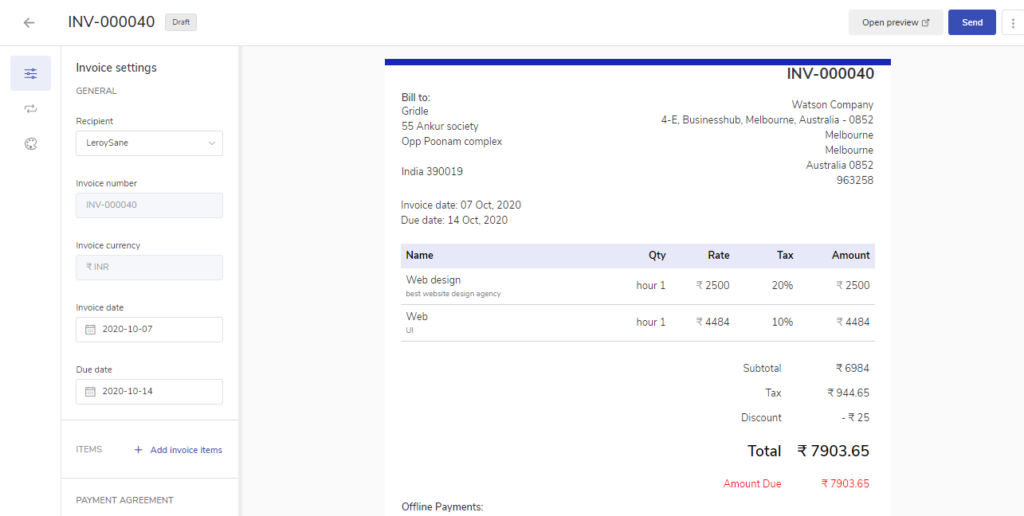
You’ll land on the Invoice editor page which has all details about your new Invoice.
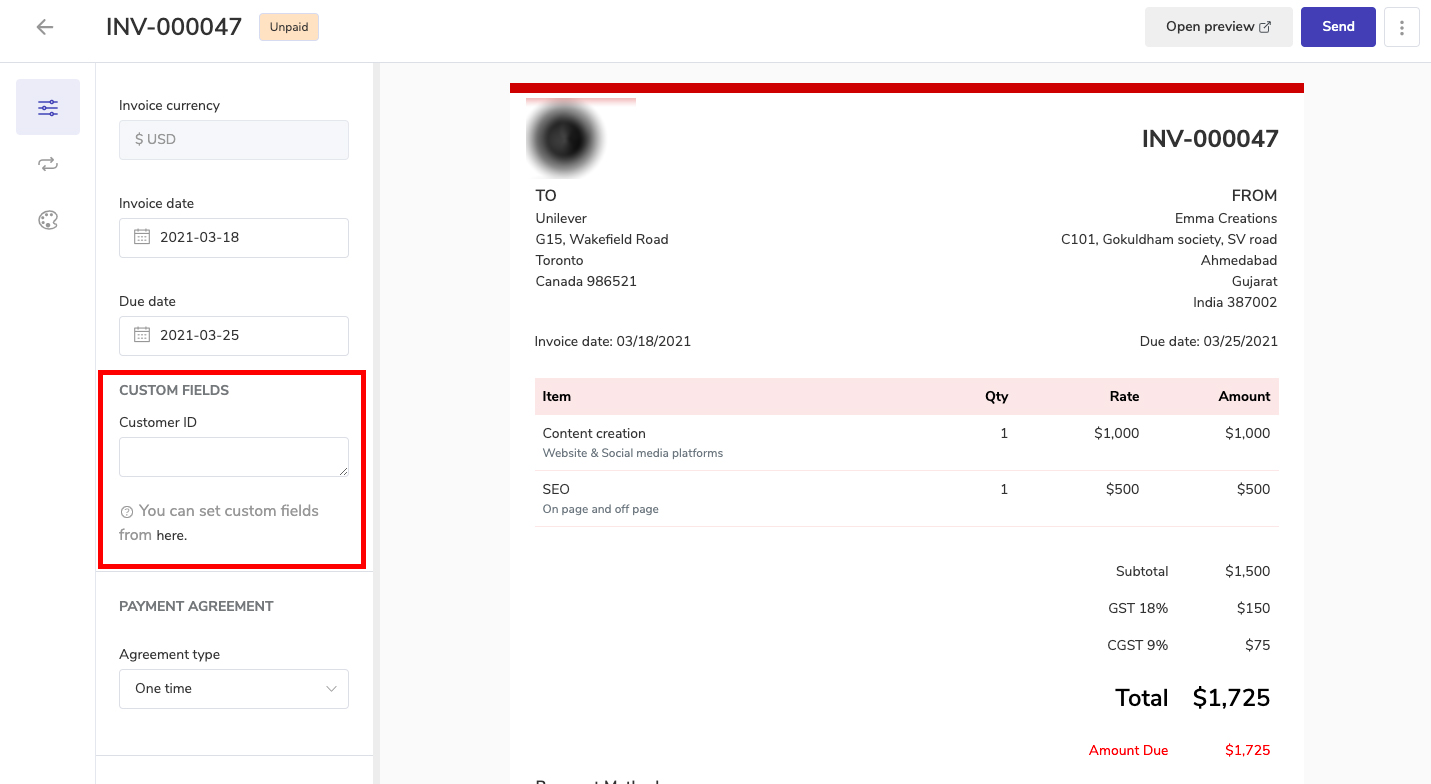
Add Custom field
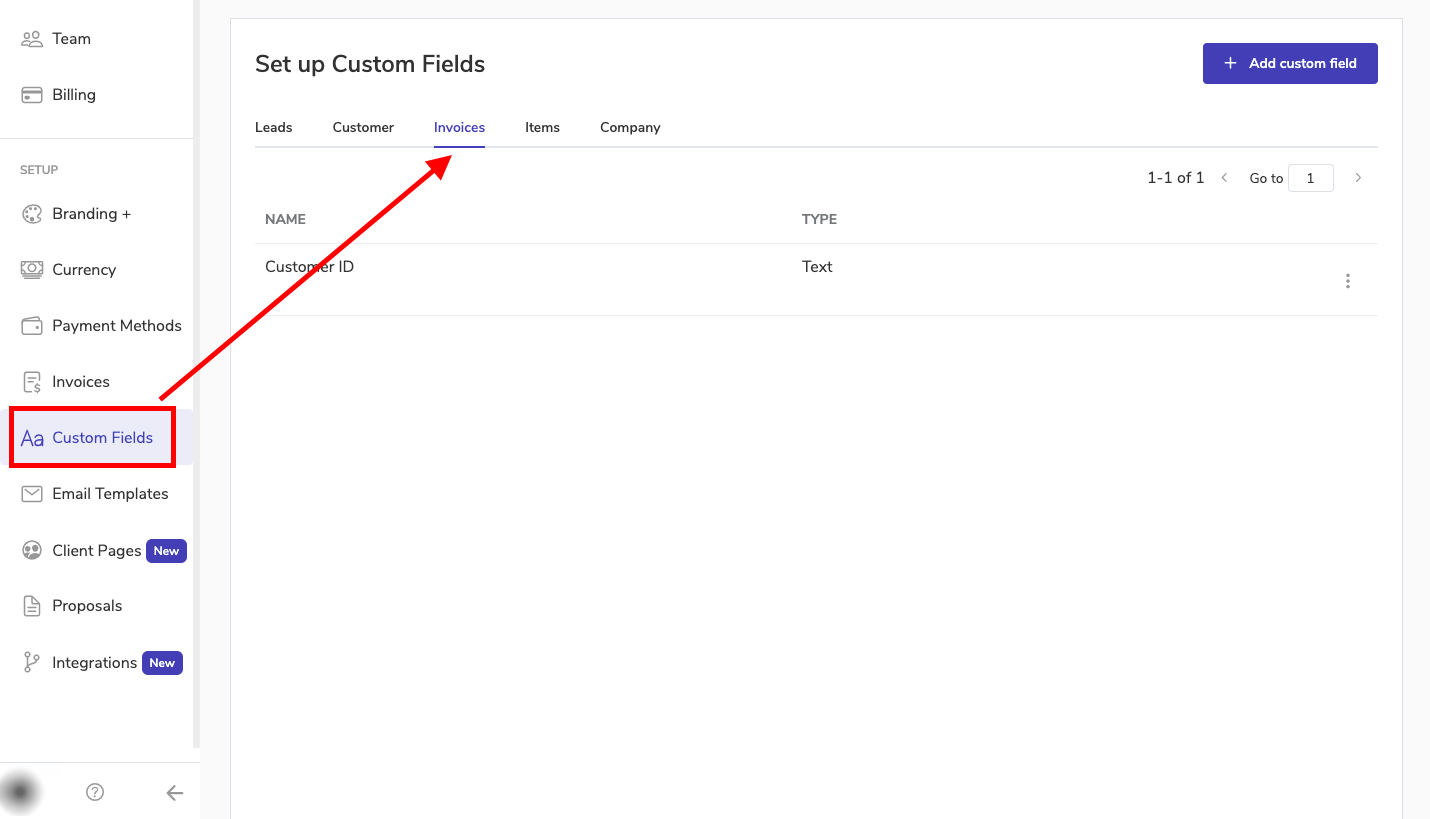
You can also add additional fields that you want to show on your invoice by adding them in Custom field.
To add custom field, you can go to Settings >> Custom fields >> Invoices and add the field you want. Please refer the below image.
You can also add it directly while editing your invoices. Please refer the below screenshot to know where you can find the option.
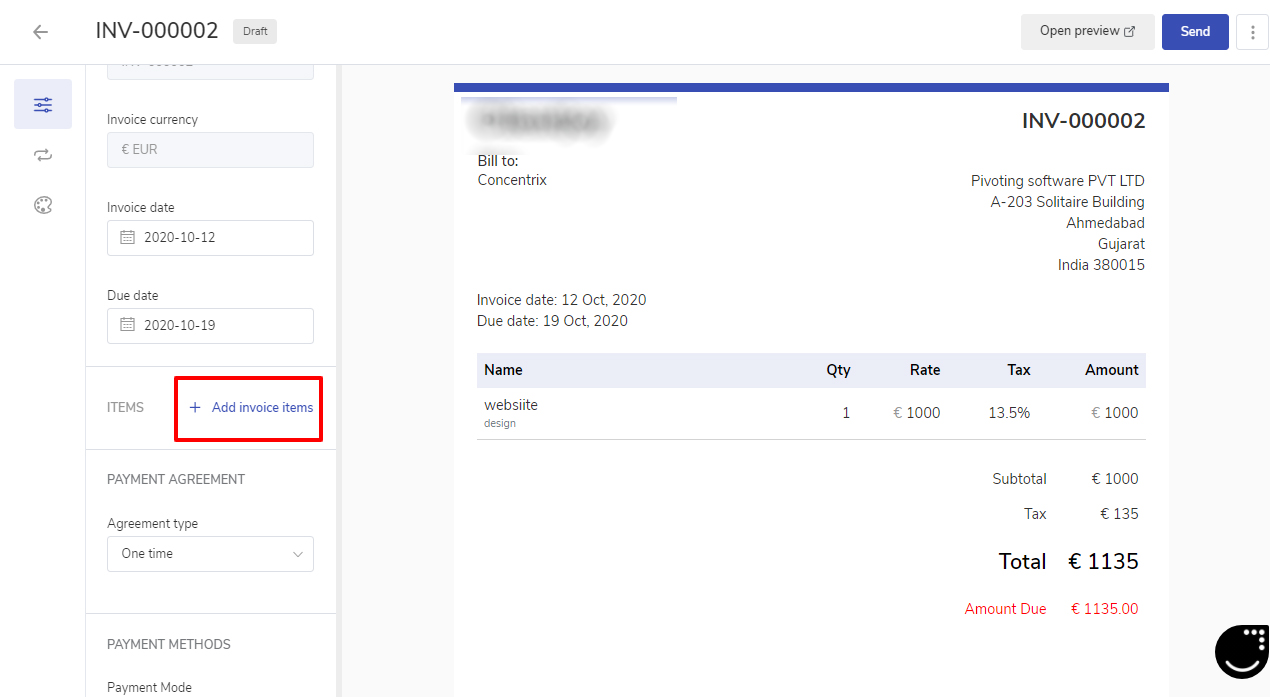
Adding Item Table
Click on +Add Invoice item to create an item table for the invoices.
A Dialog box will open. Here you can add the existing items or can create new items for the Invoice.
Once you’re done with the changes. Click the Save button of the item table.
You’ll see the item table inserted in your Invoice. You can also check how the Invoice will look to your customer by clicking the Open Preview button.
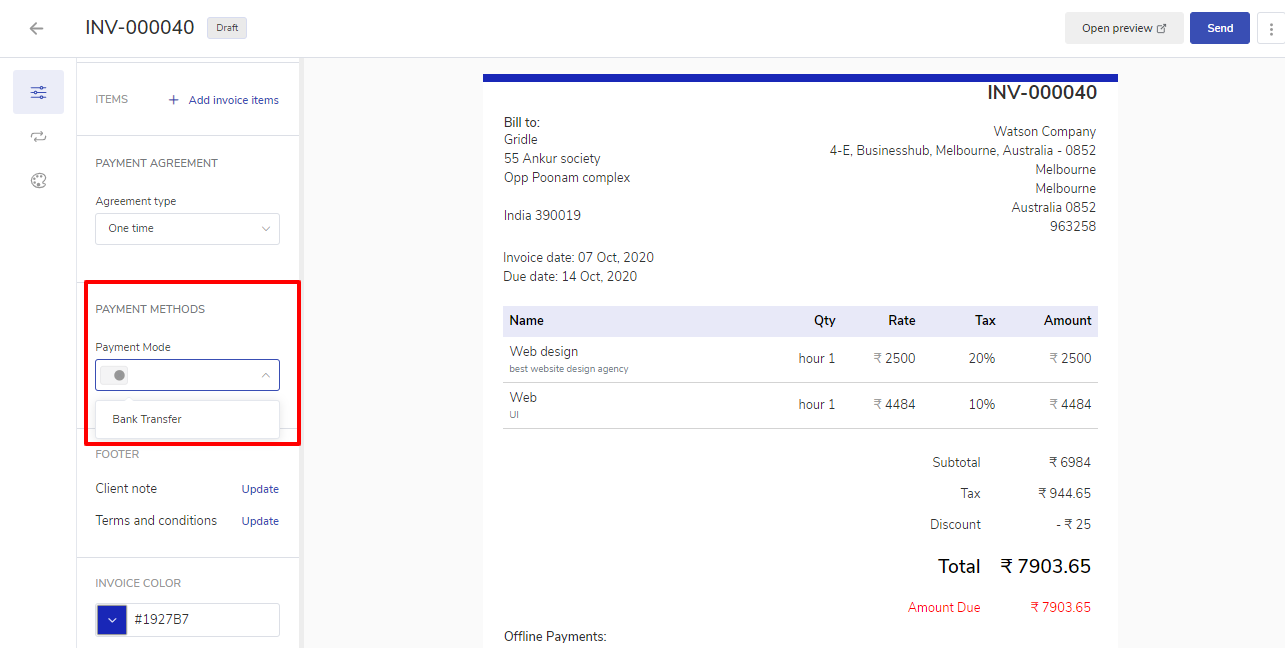
Enabling Payment Methods
Once you have created the invoice for the client you have to ensure that you have enabled the active payment methods for your client. But before, enabling the payment methods you need to integrate the Payment Gateways.
Once the payment gateway is integrated you need to enable the payment methods for which-
Click on the invoice from the top of the page click on the ellipsis icon.
Select the Update option.
Navigate to invoice settings in the left menu.
Scroll down to Payment Methods and click on the drop-down to enable the payment mode.
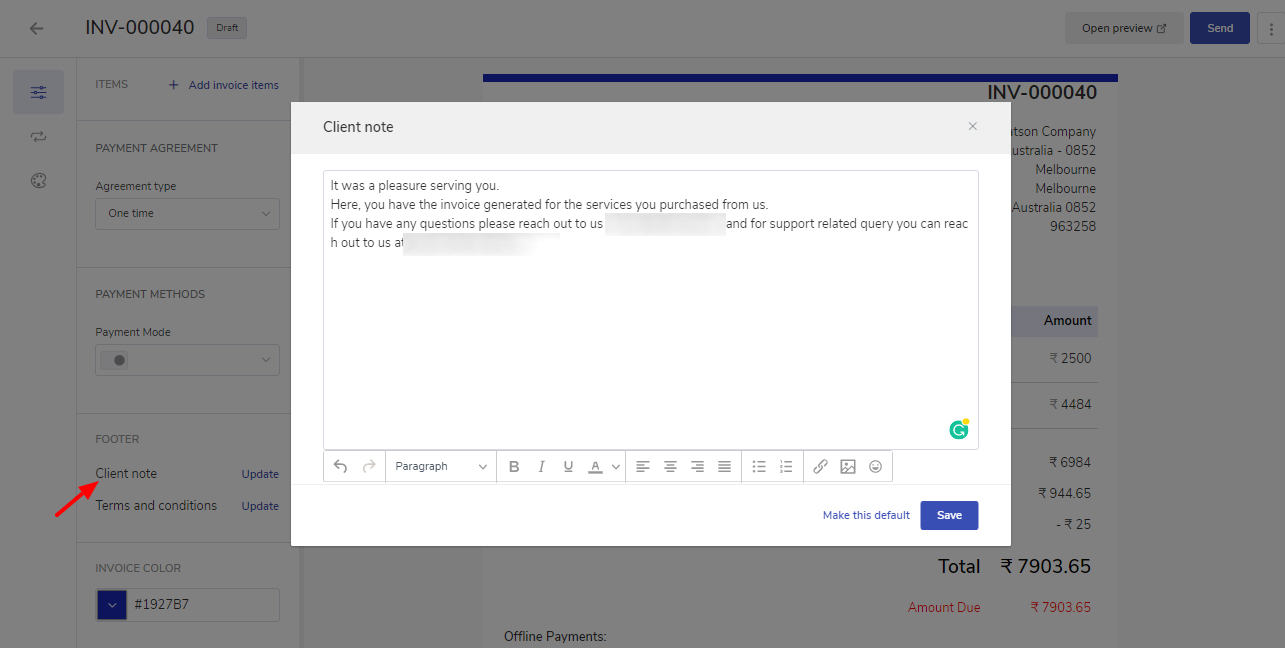
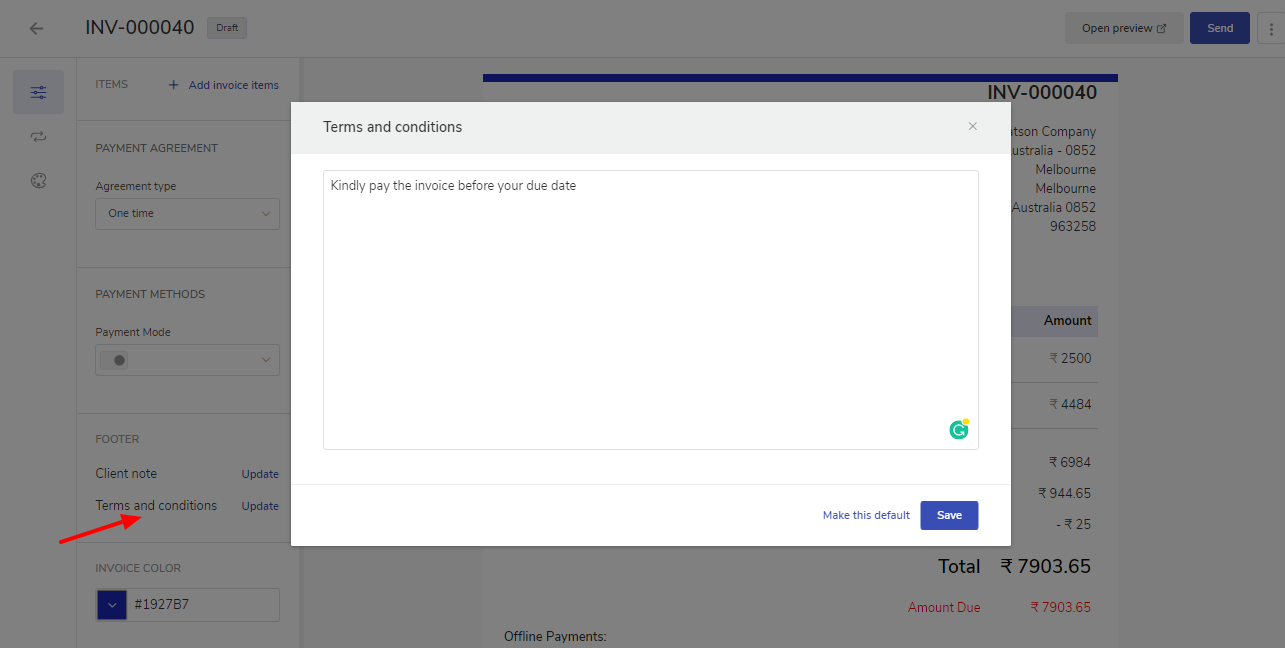
Note: Offline Payment method is automatically inserted into Invoice Document. Defining Client Note & Payment Terms
Under invoice settings, there is a section Footer where you Can define the client note for the client for whom you are creating the invoice, and in Payment terms, you can update the terms and conditions related to payment.
Customizing Invoice's Design
You can choose from available Invoice templates to create a decent-looking Invoice based on your need.
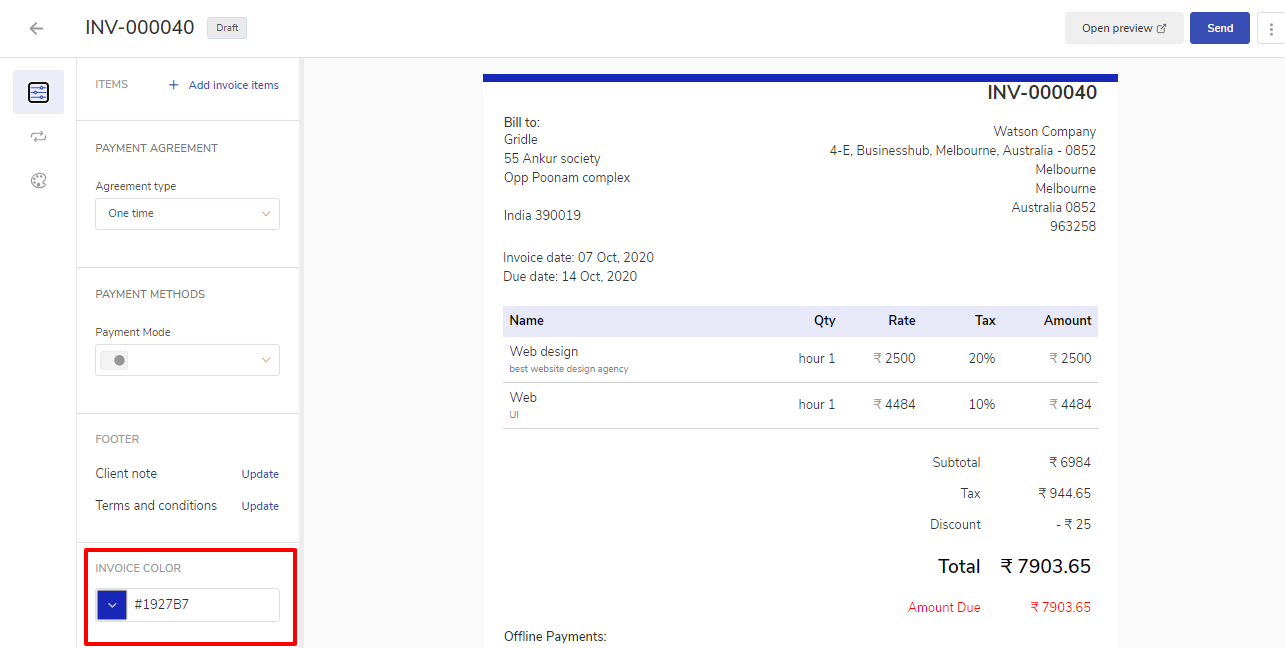
You can choose the color for your Invoice. By default the brand color defined in the Workspace Settings is used.
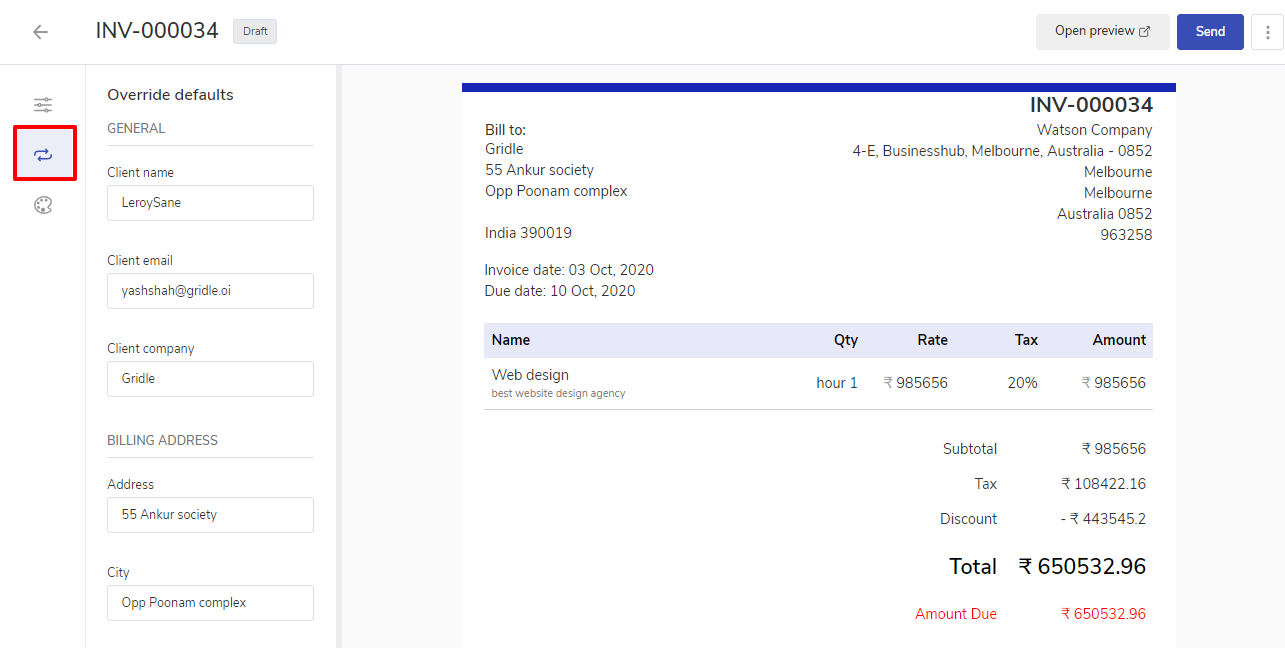
Changing Default Information
Click on change defaults from the left menu to change the default values of the customer or your agency
Saving the Invoice as Draft
Once done you can click on save to save the Draft of the invoice. popCRM automatically saves the changes you’re making to your invoice to prevent the accidental loss of the data.
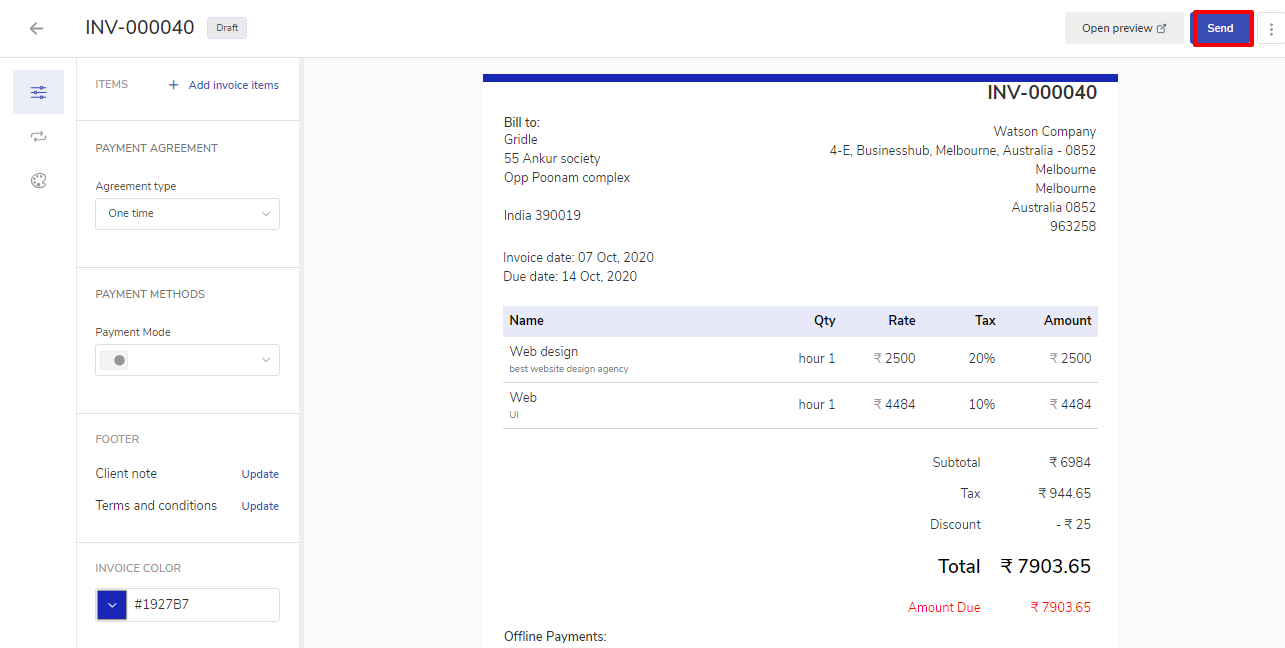
Send the Invoice
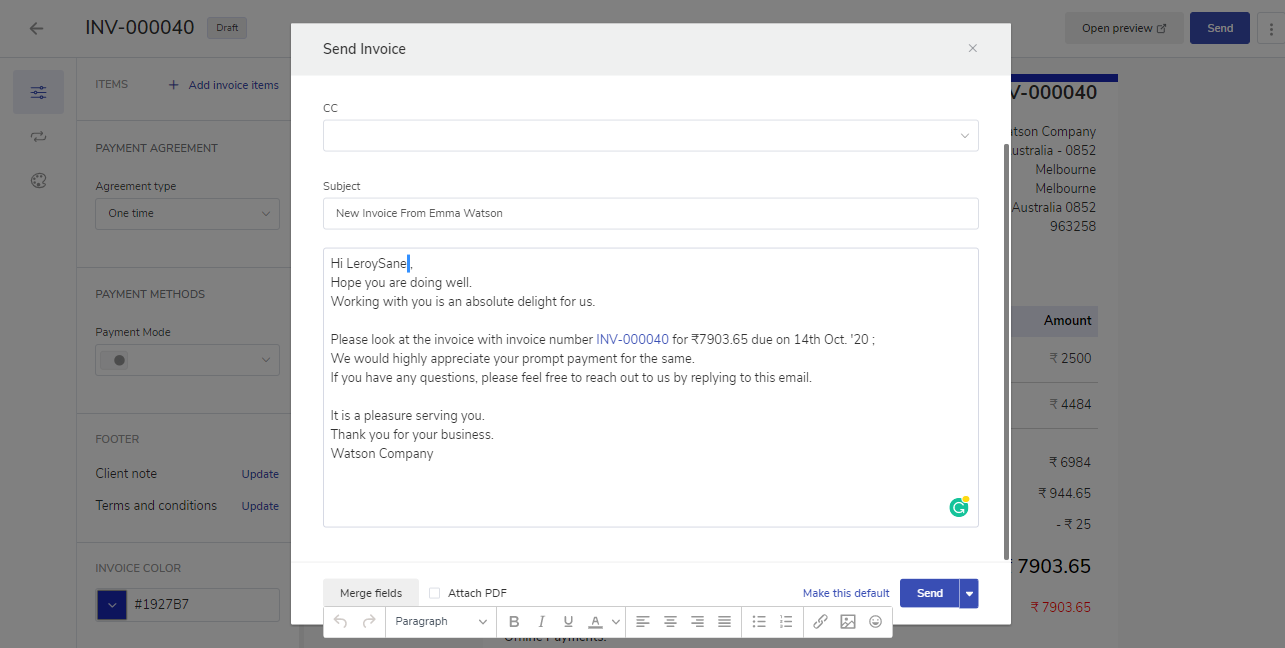
Once you’re done with creating the Invoice. You can send the Invoice to your customer by clicking the Send button.
It will open the Dialog box with a pre-filled email template for sending an Invoice to the customer. You can make changes to the email by changing text or styling (bold, italic, etc.) the way you need.
You can send a test email to yourself to know how the will email look to your customer.
At last, you can send the email by clicking the Send.


