Add, remove, edit products, categories, and orders in Woocommerce
Warning: Trying to access array offset on value of type bool in /home/u804697833/domains/onshowcreative.populis.click/public_html/wp-content/themes/tessera/includes/bs4breadcrumb.php on line 100
Add, remove, edit products, categories, and orders in Woocommerce
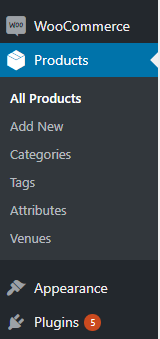
Open the Products Manager
Click the Products link in the left sidebar within the content management system.
How do I create new Products?
Step 1: Navigate to the Products Manager.
Step 2: Click Add New at the top left of the screen. You can also import new products. Call Techno Goober for information on importing products.
Step 3: Input a Title for your product. This will be the title that users see when purchasing the product.
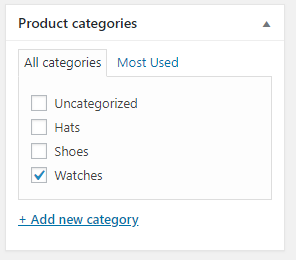
Step 4: Select the Product Category by check marking it in the right sidebar.
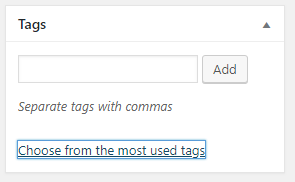
Step 5: Add Tags by selecting them or adding new ones in the right sidebar.
Step 6: Add the product description in the Text Editor.
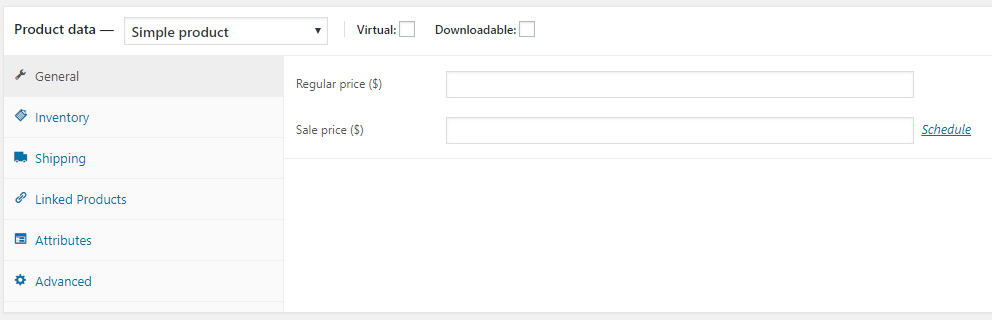
Step 7: Next, click General to set the regular price for the product. You can also input a Sale price and schedule when the product will go on sale.
Step 8: Below General, select Inventory, Shipping, Linked Products, Attributes, and Advanced to enter more information about your product.
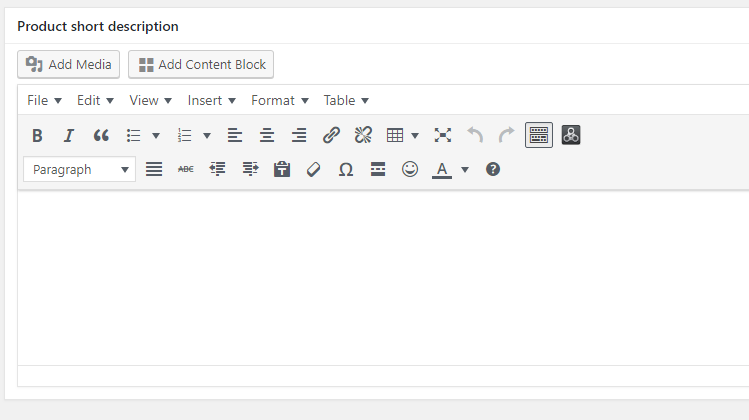
Step 9: Below the pricing and options, you can input a Product Short Description.
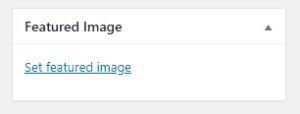
Step 10: In the box designated Featured Image, upload the image for the product. This will be what the public sees when viewing a product.
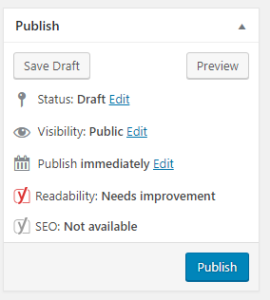
Step 11: Within the Post Editor, add the content to your post and when complete, click Publish.
How do I delete a Product?
Step 1: Navigate to the Products Manager.
Step 2: Hover over the product that you want to delete, and click Trash. Some websites may have the option to Trash All to delete all products in a set.


