To be able to smoothly use the popCRM, you need to do a one-time setup of your workspace e.g. your Company, Branding plus, etc.
Here is the guide to set up your workspace:
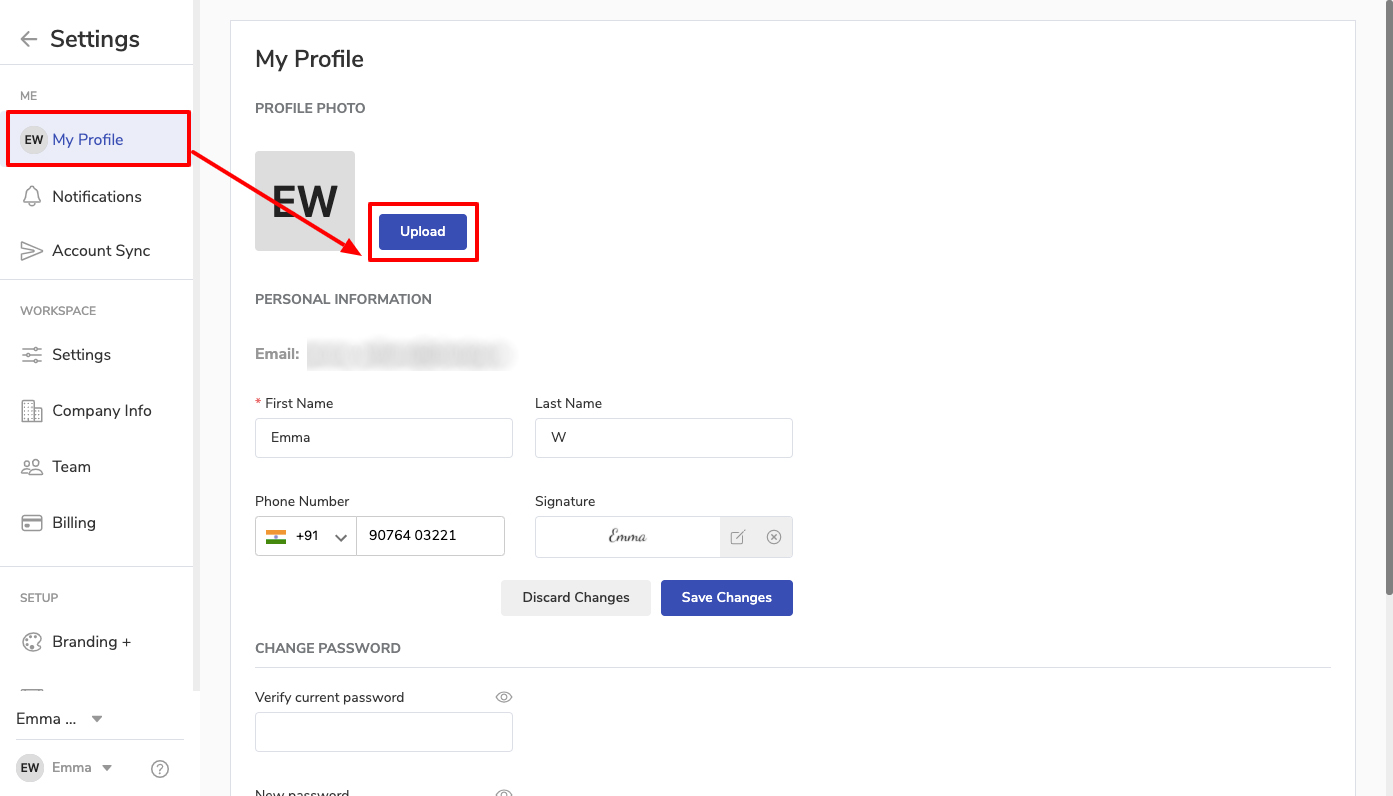
Add your Workspace Logo from the My Profile option in Settings.
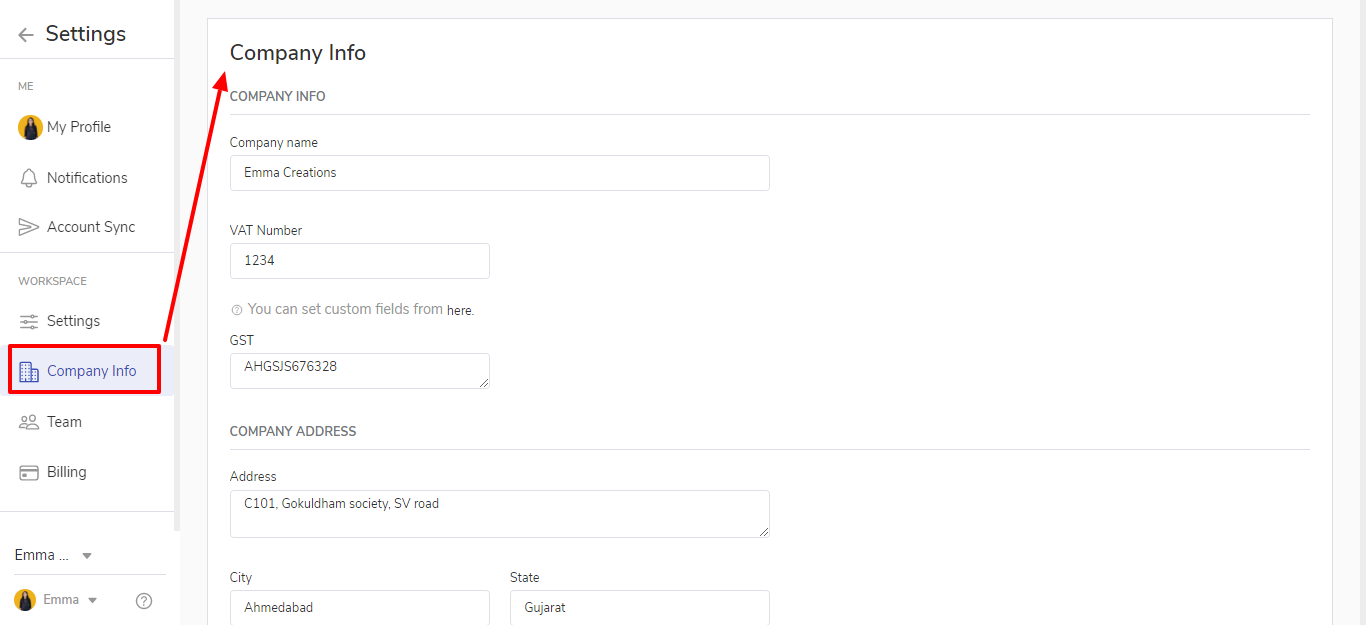
Enter your Company name and Company Address. It will be reflected on your Invoices and Emails.
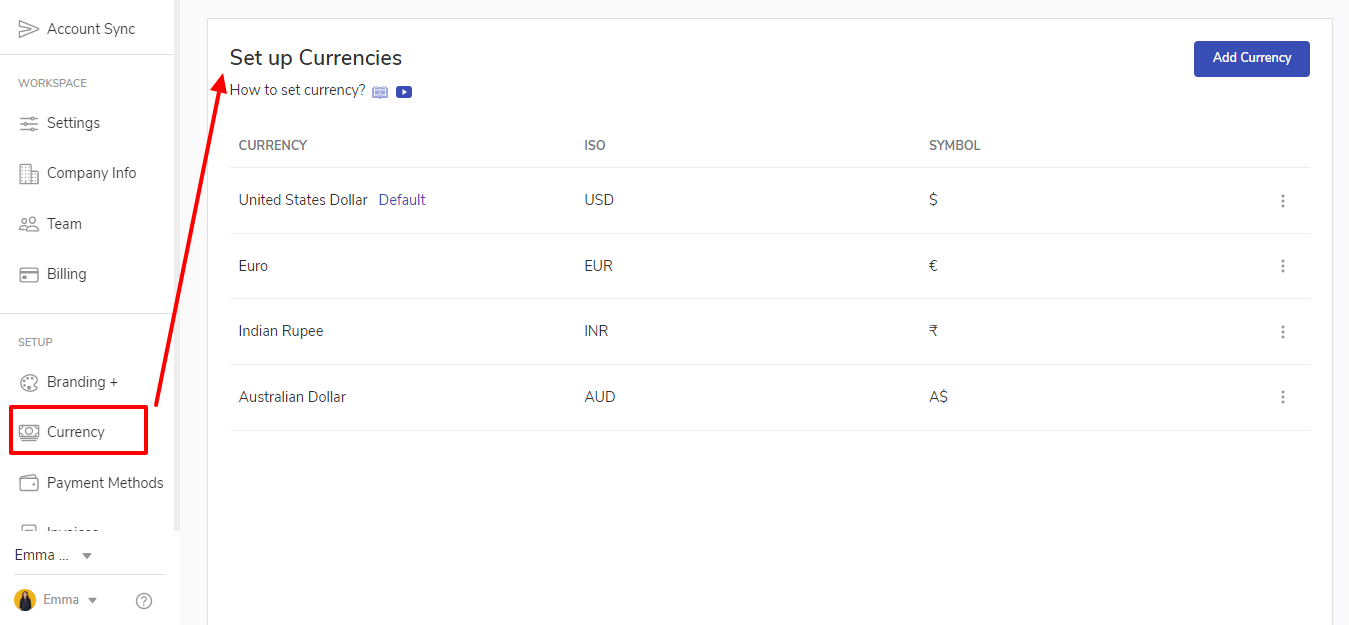
Add different Currencies to raise invoices for your customers from different countries.
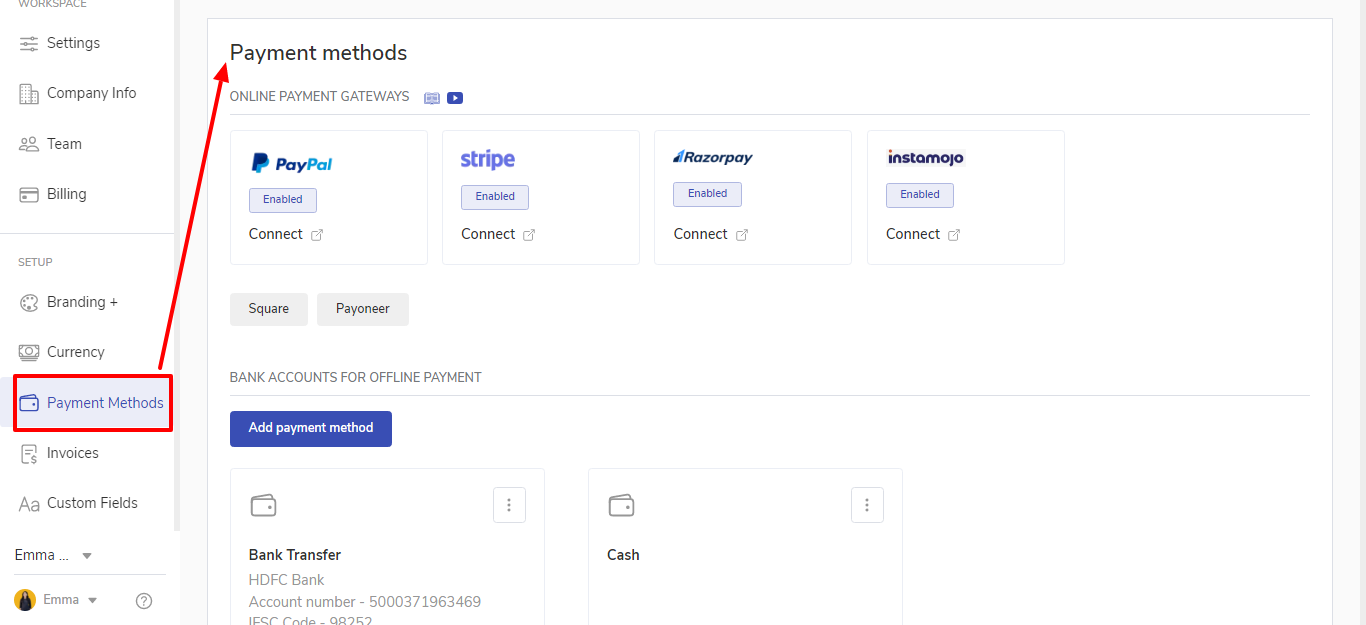
Connect different payment gateways to add them to your invoices and receive payment.
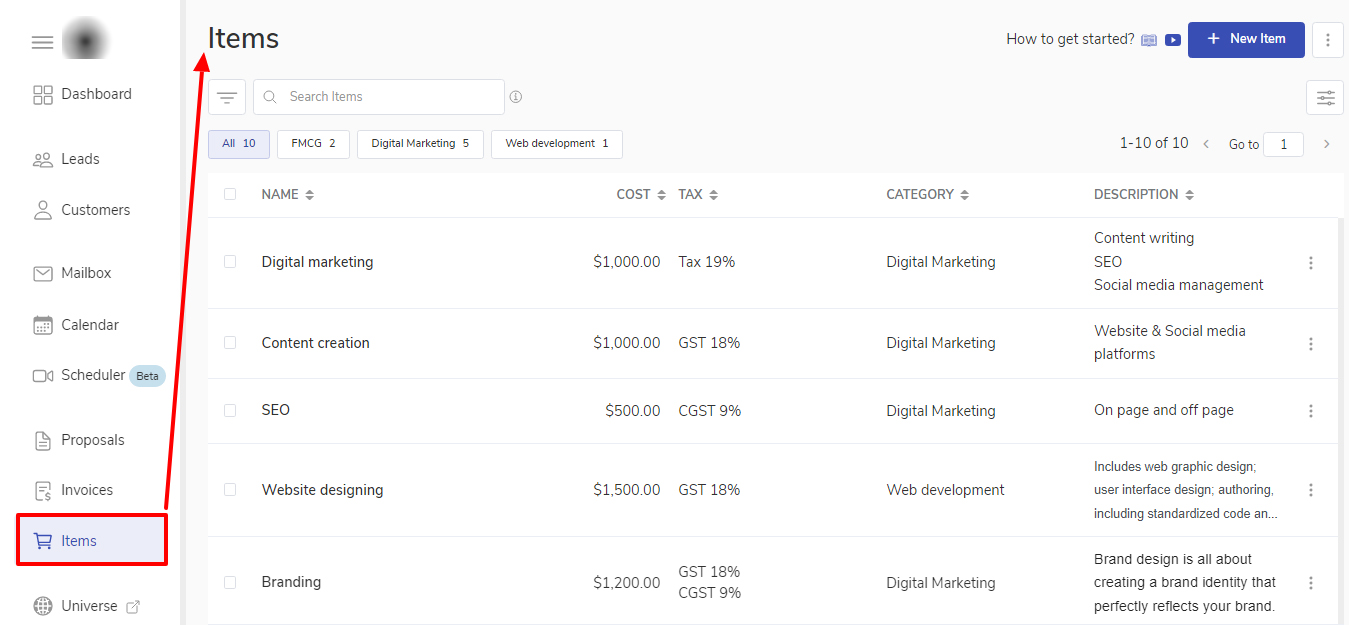
Items refer to the product/services for which you are charging your clients. You can create items once and save them and use them while creating Invoices and Proposals.
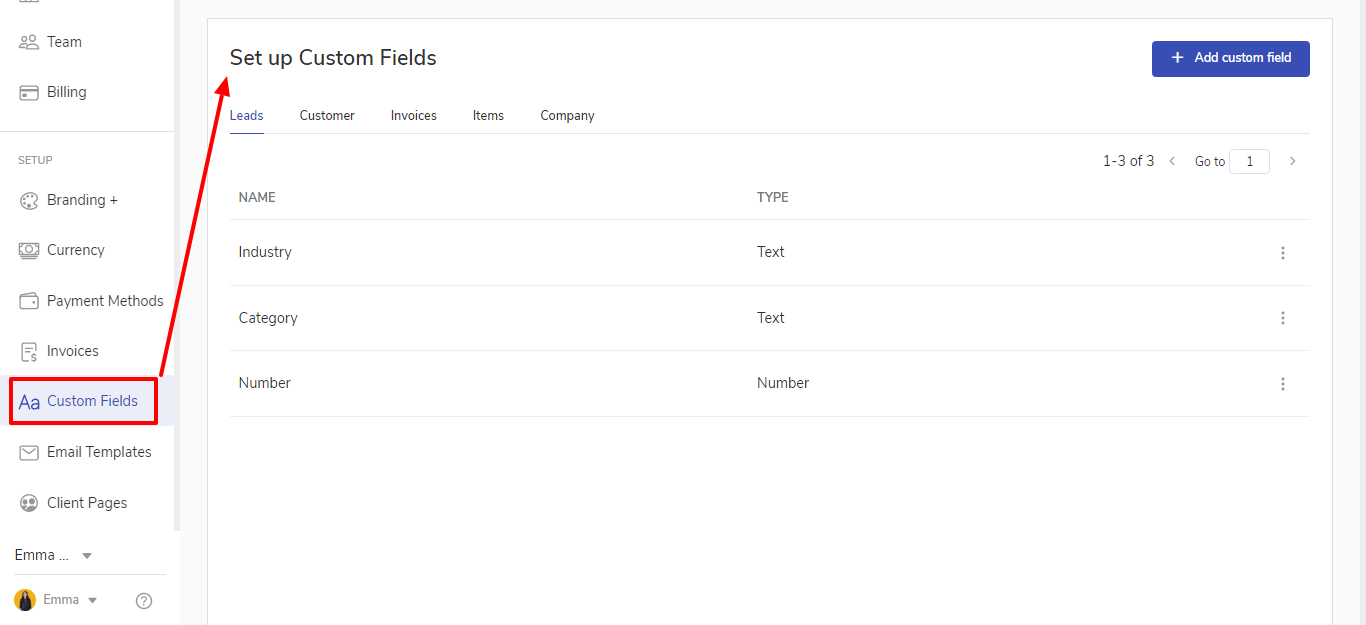
Create different custom fields to add more details to almost anything in popCRM, including Leads, Customer, Company, Items
Set up custom email templates allow you to modify the content of all emails that are sent to your clients e.g. while sending proposals or invoices to your client.
Set up Invoice number format, Reminders. Taxes and Formatting from the Invoices option in Settings.
Branding plus popCRM allows you to have complete control of your own brand in front of your Leads/Customers. In the Customer area and public pages, you can add your logos, your domain, your brand colors, your custom scripts, your styles, etc. In fact, all the emails to your Customers/Leads will also go from your emails and in the email templates which you can configure.
Set up your custom domain
Set up your SMTP
Customization on the client portal
Work
Import your Leads and Customers to start reaching out to them through popCRM.
Connect your Mailbox and start sending and receiving emails in popCRM.
Sync your Calendar to see your activities in one place.
Create automation through Zapier/Pabbly/Integrately/Integromat to get Leads from Ads, Forms, etc.
Your popCRM Team list is found in Settings > Team. This provides you with an excellent overview of each team member in your popCRM account, including what information they have been given permission to see.
Other Settings
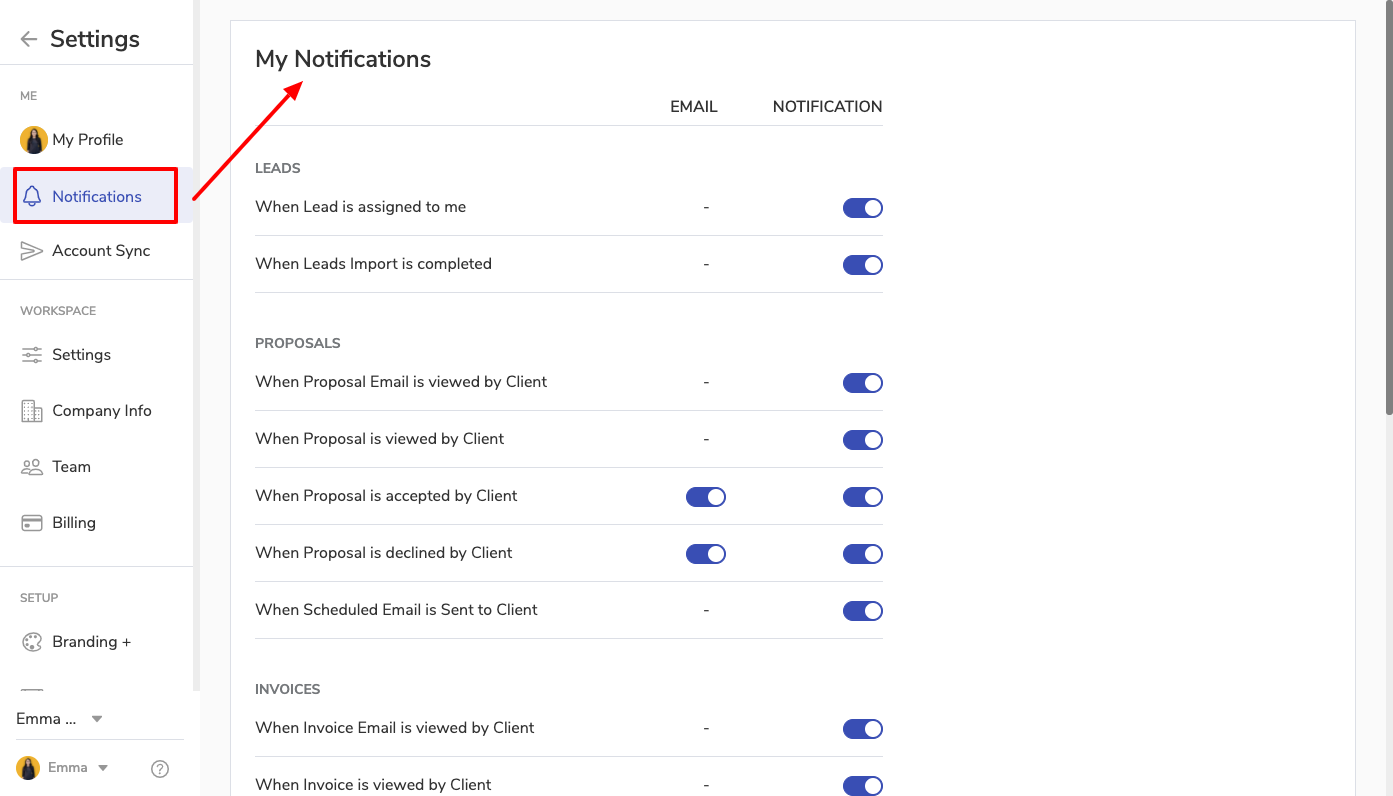
Enable the options for which you want to receive notifications from the Notification option in Settings.
