Add, remove and edit page translations in WPML translation
Warning: Trying to access array offset on value of type bool in /home/u804697833/domains/onshowcreative.populis.click/public_html/wp-content/themes/tessera/includes/bs4breadcrumb.php on line 100
Add, remove and edit page translations in WPML translation
Translating Your Whole Site Automatically
WPML lets you translate entire sites using a combination of automatic translation and human review. You can use this setting to translate the following types of content:
Posts
Pages
Taxonomy terms assigned to any posts or pages
WooCommerce Products
Some content from popular plugins
Your site might also feature custom post types and custom fields. By default, these will not usually be automatically translated. However, you can easily enable automatic translation for any post type, custom field, or taxonomy on the WPML Settings page.
To translate your whole site automatically, choose Translate Everything in the WPML setup wizard or in WPML → Settings. You can choose to:
Review the translations before publishing (recommended)
Publish translations and review them later (good for when you’re publishing a lot of content and can’t review in real time)
Publish translations without reviewing (your translations may have some inaccuracies)
Enabling Translate Everything mode
With this setting enabled, you don’t need to send any of your posts and pages to translation. Instead, WPML will translate them in the background any time you publish new content or edit existing content. This means your site will always have up-to-date translations.
Viewing the status of your automatic translations
When your translations are ready, you are notified that they are ready for a review.
Please note that this feature does not automatically translate the following:
Unpublished drafts
Content created in a secondary language
Pages or posts that were previously translated using a different method. This is so you won’t overwrite existing translations. Instead, please continue to use the same translation method you used originally to translate those pages and posts.
Translating Individual Pages, Posts, and Other Content Automatically
If you don’t need to translate your whole site, you can still use automatic translation for the content you do want to translate. Automatic translation is great for generating quick translations, first drafts, short texts, e-commerce product descriptions, and more.
To translate individual pages, posts, or other content, select Translate Some in the setup wizard or in WPML → Settings.
Enabling Translate Some mode
When you or one of your site’s translators opens a translation job in the Advanced Translation Editor, simply click the blue Translate Automatically button at the top of the page. This will instantly fill in the translations for the content you are translating.
Automatically translating content in the Advanced Translation Editor
Check and accept the translation of each sentence by clicking the green check button. When you’re done, click Complete.
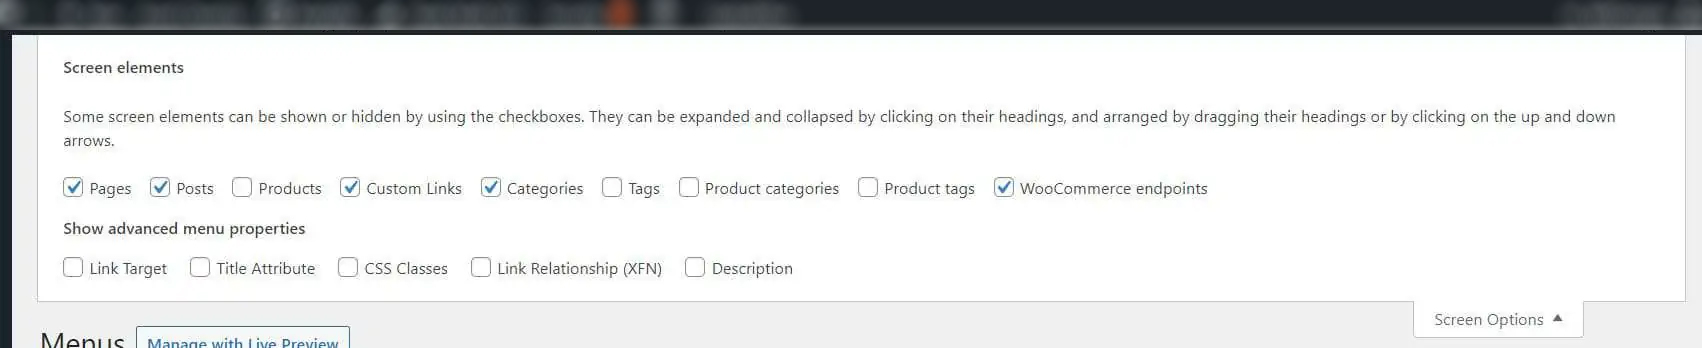
Tick the boxes that you need in the screen options
How to Use Manual Translation
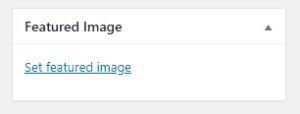
To use manual translation, edit the page or post you would like to translate or create a different design for.
In the sidebar, find the Language meta box, and turn off WPML’s Translation Editor.
In the pop-up dialog that appears, select This page.
Turning off WPML’s Translation Editor
Choosing This Page
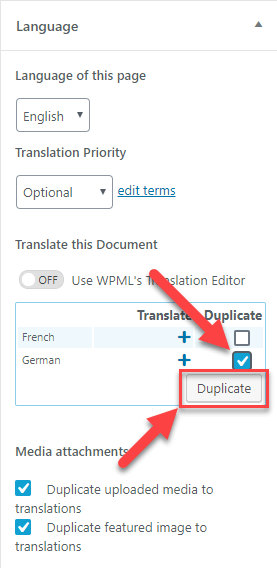
In the Language meta box, select the Duplicate checkbox, and then click Duplicate. This will duplicate the page in the selected secondary language.
Duplicating the page in your secondary language
Click on the pencil icon to edit the page in the other language. You may have to click Show to get your translation to show up.
Editing the page in the secondary language
When editing the duplicated page, click Translate independently in the Language box. This unsyncs the secondary language page so your design or translations won’t be overwritten when you update the default language page.
Unsyncing the secondary language page with the default language page
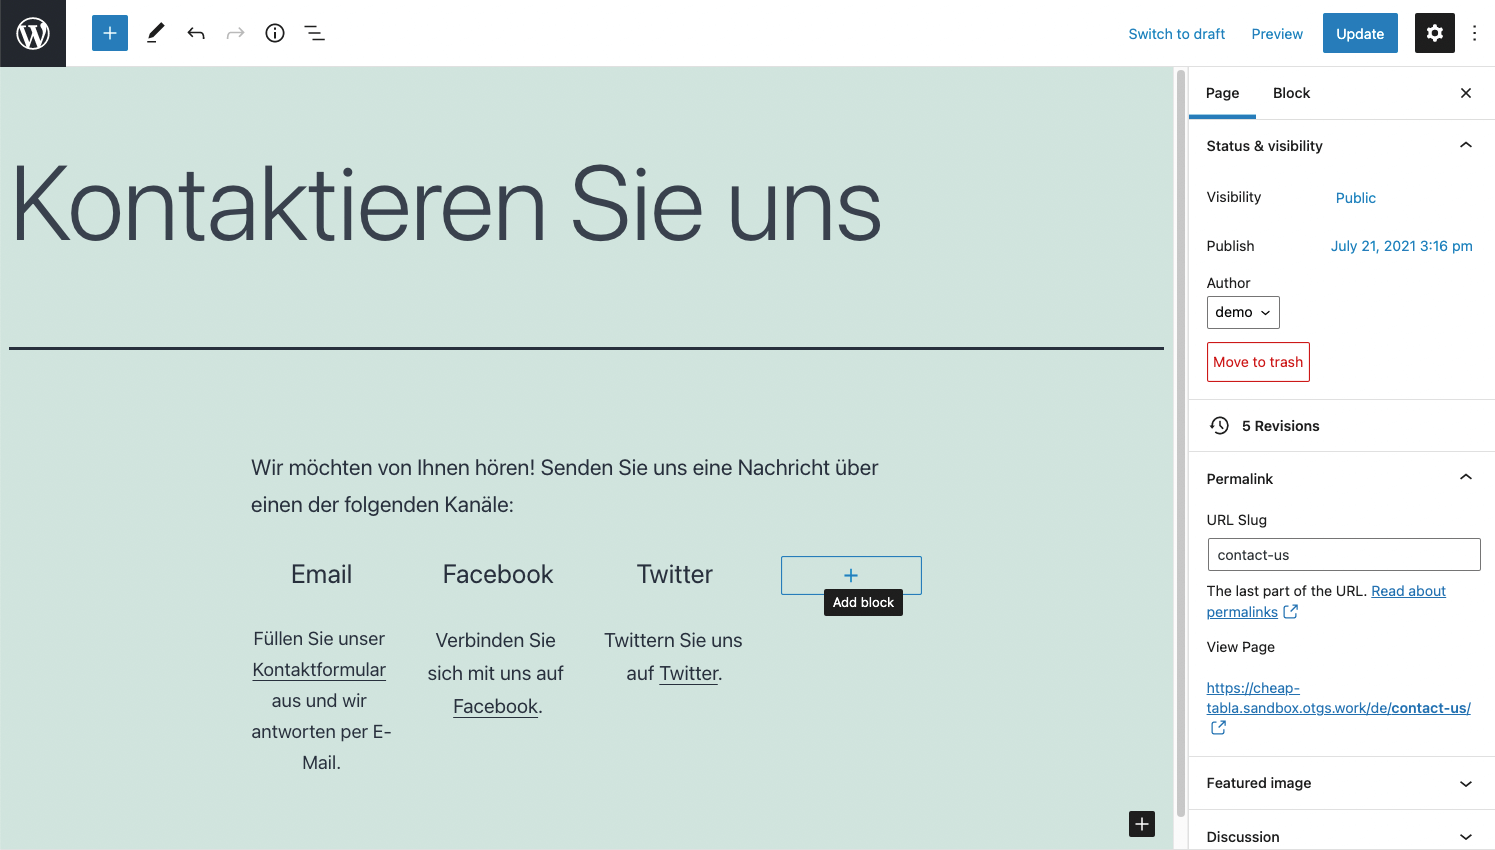
Type in your translations or edit the design. In our example, we added our German translations and added an additional contact option for German site visitors. This required a change to the page layout.
Changing the design for the page in the secondary language
Once you finish translating all the elements on the page or customizing your design, click Update.
Updating the page to publish the changes
Delete the Translation of a Page
To delete the translation of a page:
In the WordPress backend, switch to your secondary language using the switcher in the top admin bar.
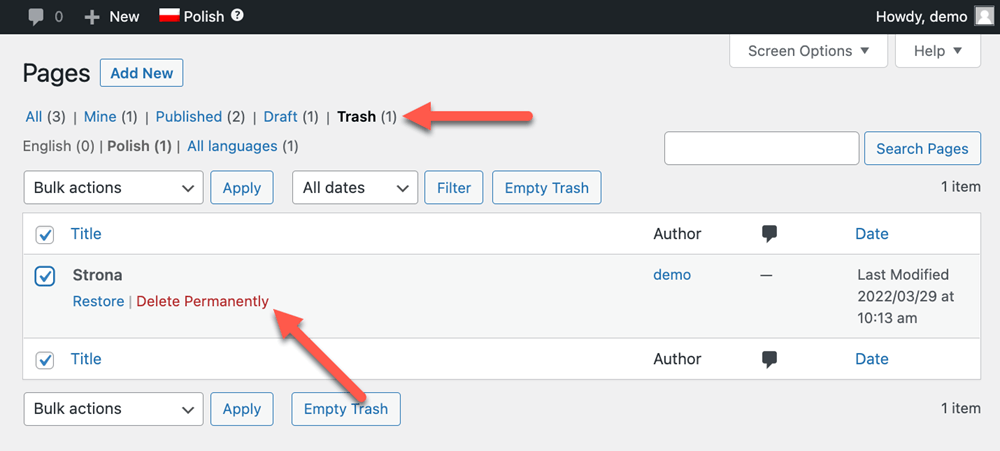
Go to Pages and Trash the selected page in your secondary language.
Click on Trash and locate the page you just deleted. Click on Delete Permanently.
When you switch back to your default language and return to Pages, you should see a plus icon next to the page in the default language. If you want, you can re-translate the page.
