Learn how to assign, resolve, or tag tickets for efficient ticket management.
Assign a Ticket
Learn how to assign a ticket by default or manually, and reassign a ticket.
Ticket Assignment Rules
Any agent in the team can reply to an unassigned ticket.
No other agent or chatbot can respond to a ticket while the assigned agent manages the ticket.
Assign a Ticket Manually
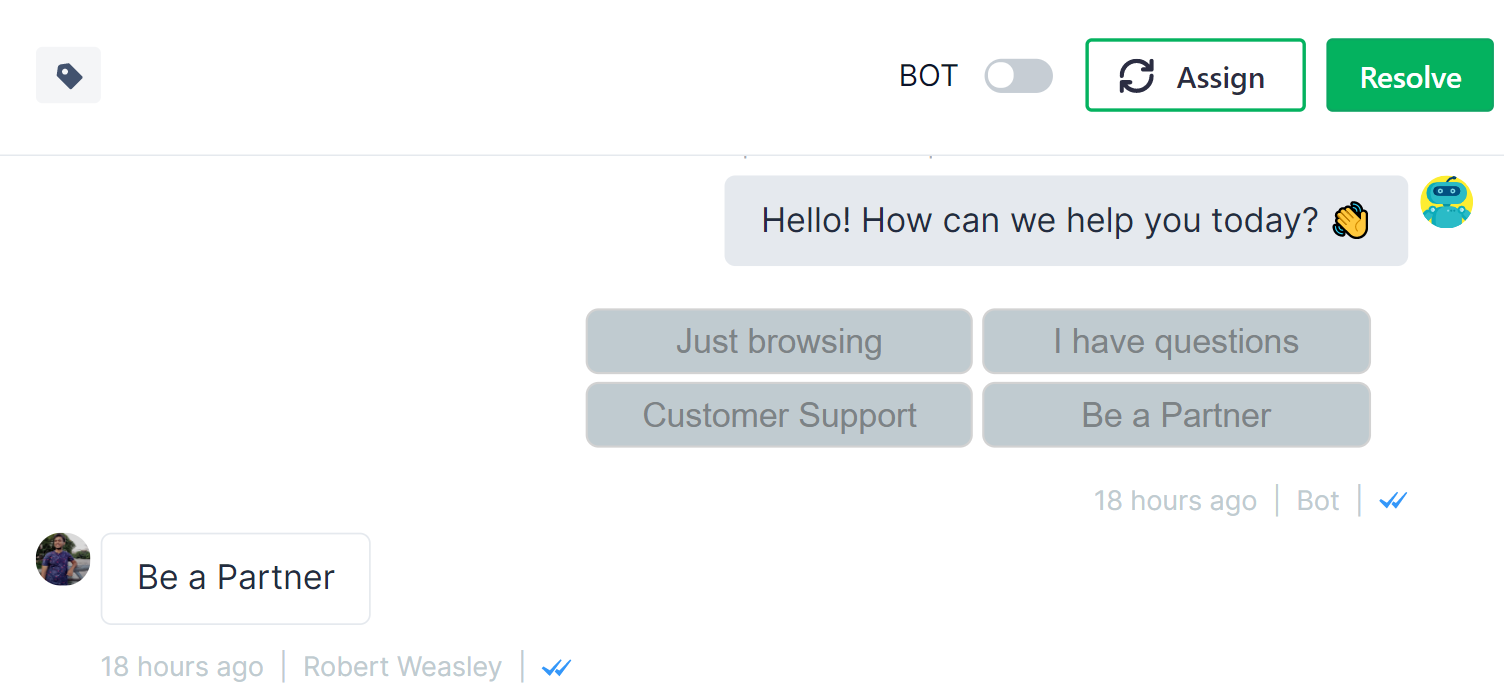
1. Select a pending ticket in your inbox.
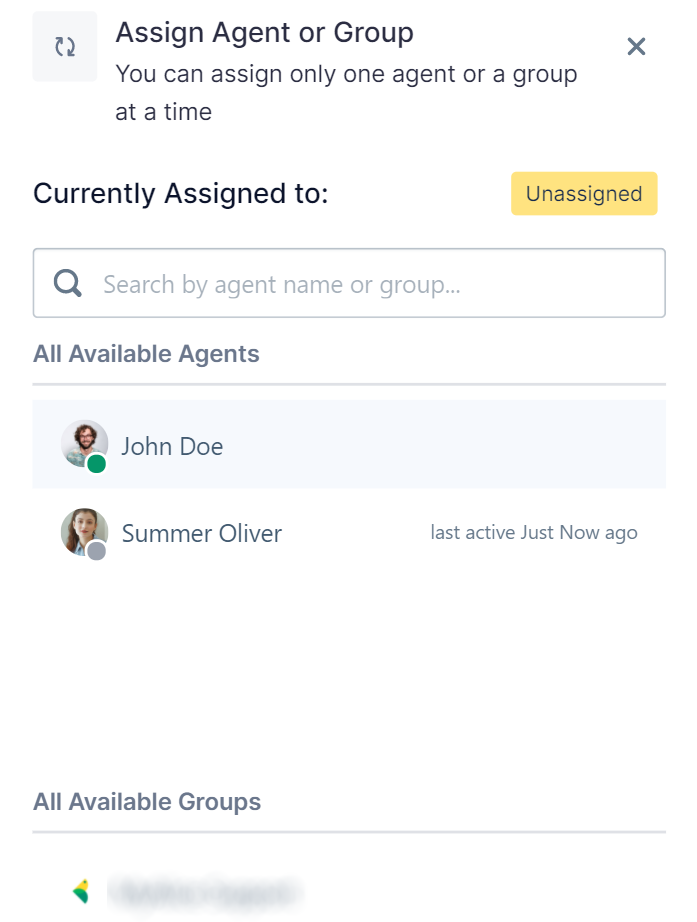
2. Click the Assign button at the right-top corner. A new panel will appear on the right.
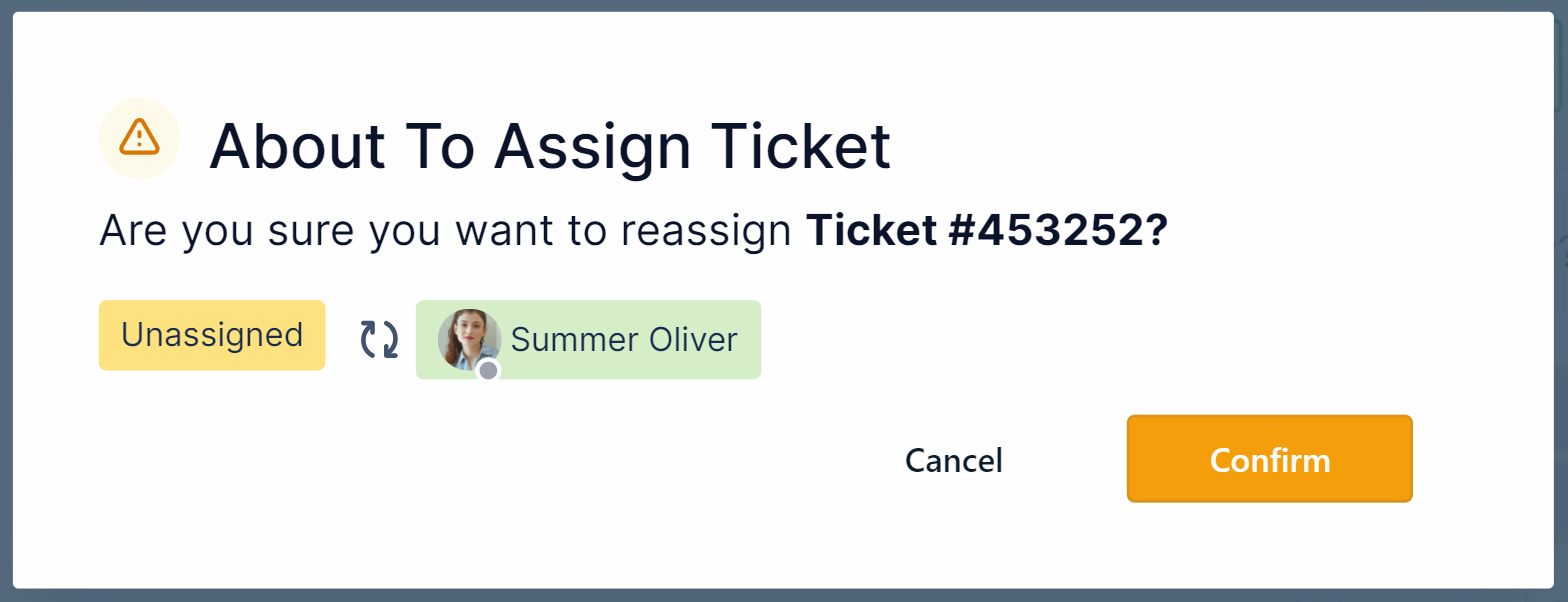
3. Choose the desired agent/group from the search results, and select Confirm to assign the ticket accordingly.
No other agent or chatbot can respond to a ticket while the assigned agent is managing the ticket.
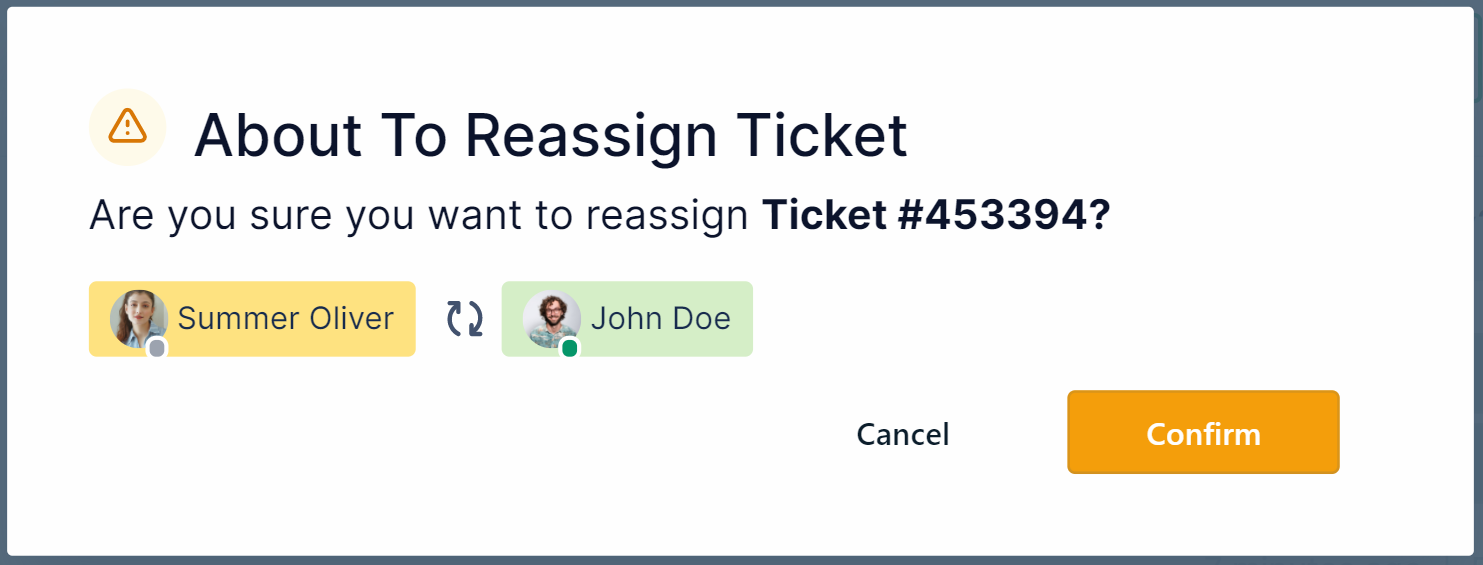
Reassign a Ticket
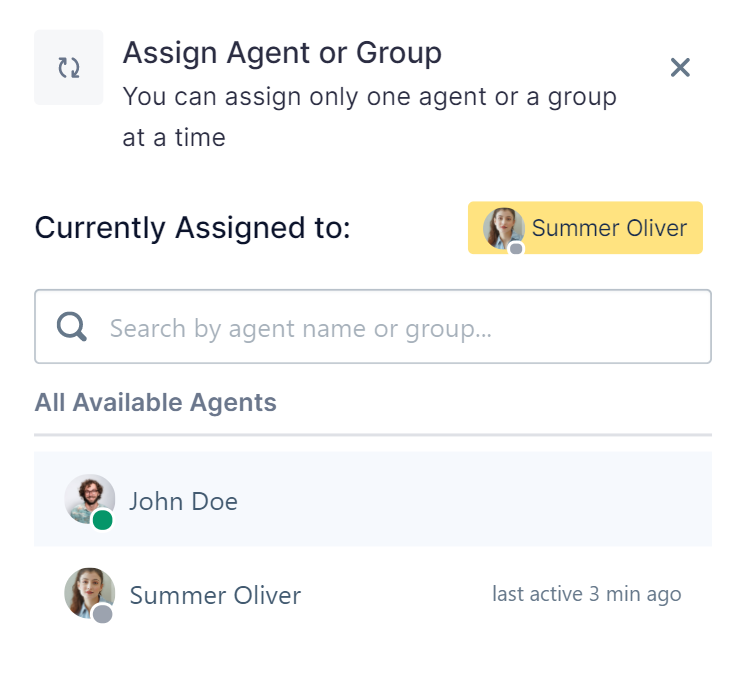
1. Select an assigned pending ticket. Click on the name the ticket is assigned to.
2. A panel will appear on the right.
3. Choose the desired agent/group from the search results., and select Confirm to reassign the ticket accordingly.
When to Resolve A Ticket
You should resolve a ticket only when the customer has confirmed that he/she does not have any more queries.
Resolve a Ticket Automatically
It’s always a good idea to create sequences that can resolve tickets automatically so that your agents can save precious time. Here’s an example.
Resolve a Ticket Manually
1. Select a pending ticket in your inbox.
2. Click on the Resolve button and that’s it. Your ticket is resolved.
How to Tag a Ticket?
1. Select a pending ticket in your inbox.
2. Click on the Tag button on the top left corner of your conversation history.
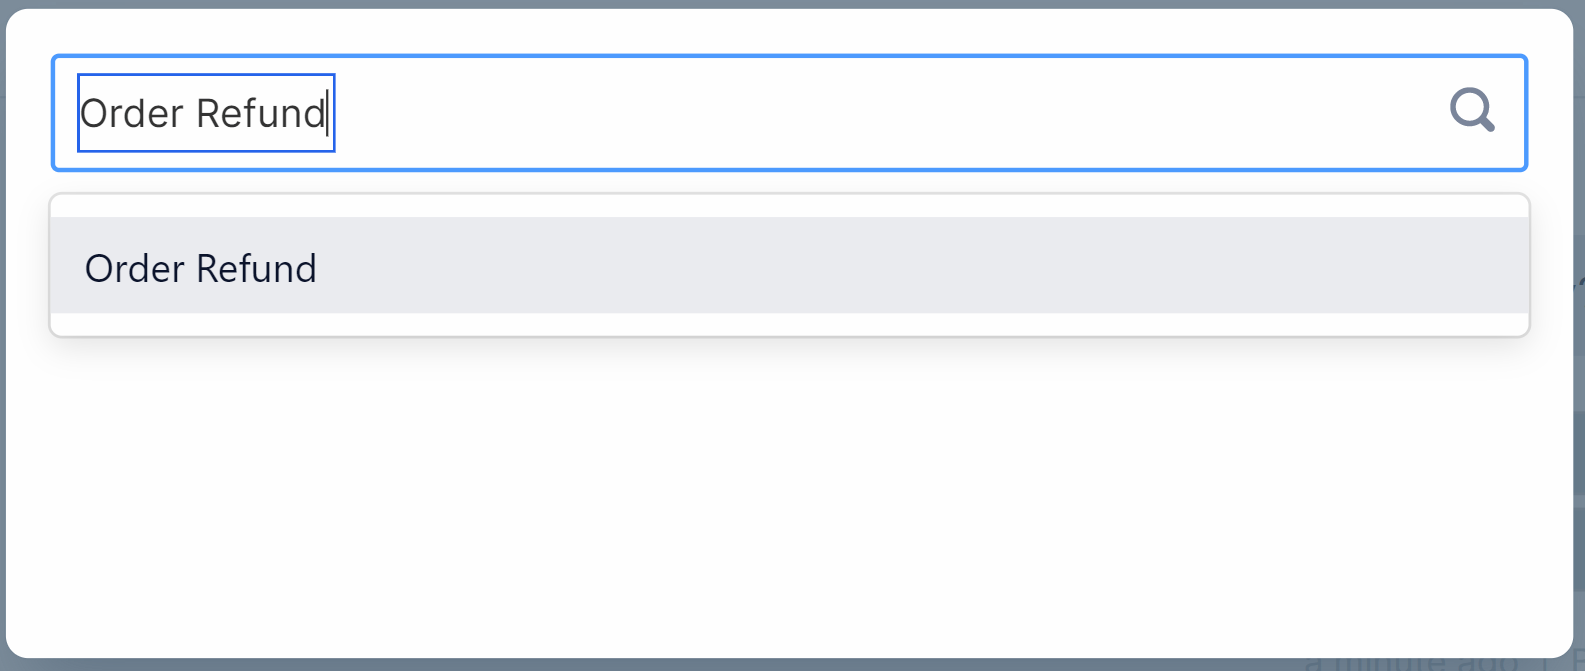
3. You can create a new tag for this conversation or search existing tags. After you have tagged a conversation, the selected tag will appear beside the tag icon.
4. Say you created a refund tag. Now, you can add filters and view all the conversations tagged with refund issues.
Now, you don’t have to search every conversation to search your refund issues.
Common Use Cases
Here are some of the most common tags our customers use to categorize their tickets.
Sales and Marketing
Support
Sales and Marketing
Lead
Product query
Offer Query
Booked
Referral
Support
Order refund
Product defect
Customer feedback
Smart Ticket Assignment
Assign tickets to available agents in Round Robin format
In a round-robin format, the incoming ticket is assigned to the immediately available or the least involved agent. The next ticket is assigned to the next available agent and so on. When all the agents have been assigned tickets once, the first agent will once again be assigned a ticket and the series will continue.
How To Create Smart Assignment Rules
Step 1: Create a Group
Go to Settings from the left navigation bar and choose Group Management.
If you don’t have a group already, create a new group. Otherwise, select one from the list.
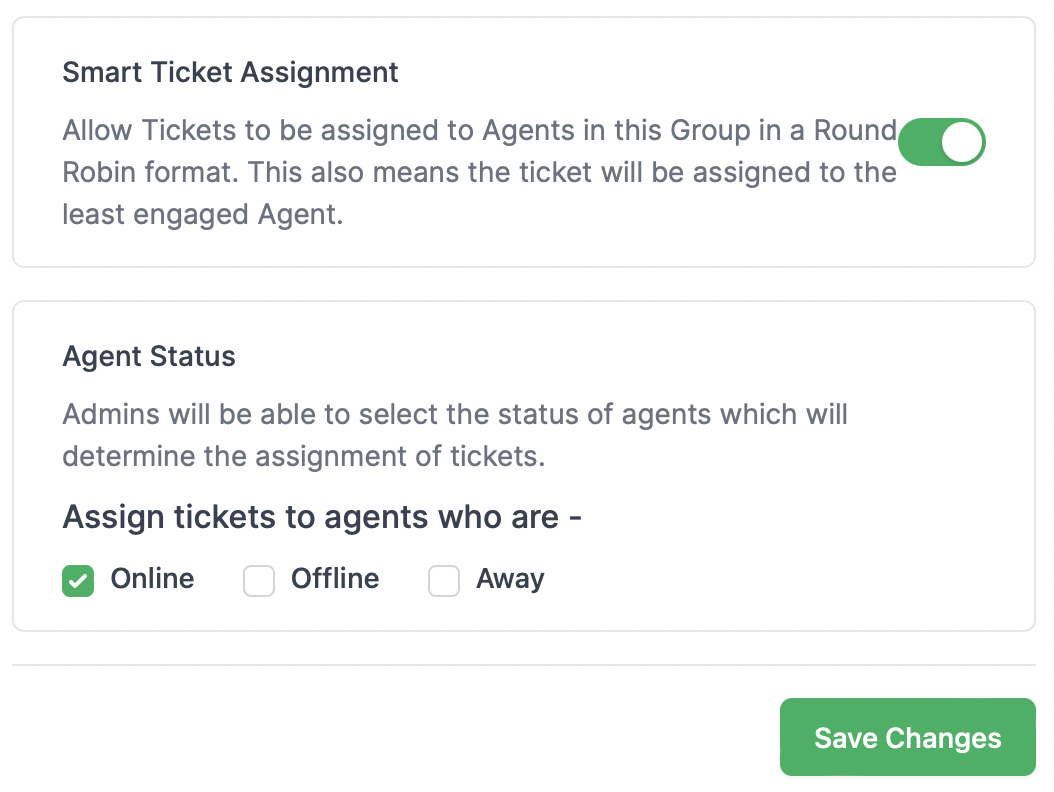
Scroll down and turn on the toggle for Smart Ticket Assignment.
You can then check the boxes to assign tickets to agents in this group who are either online, offline, away, a mix of these, or all of these.
Save Changes to complete the process.
Step 2: Create Automation Rules
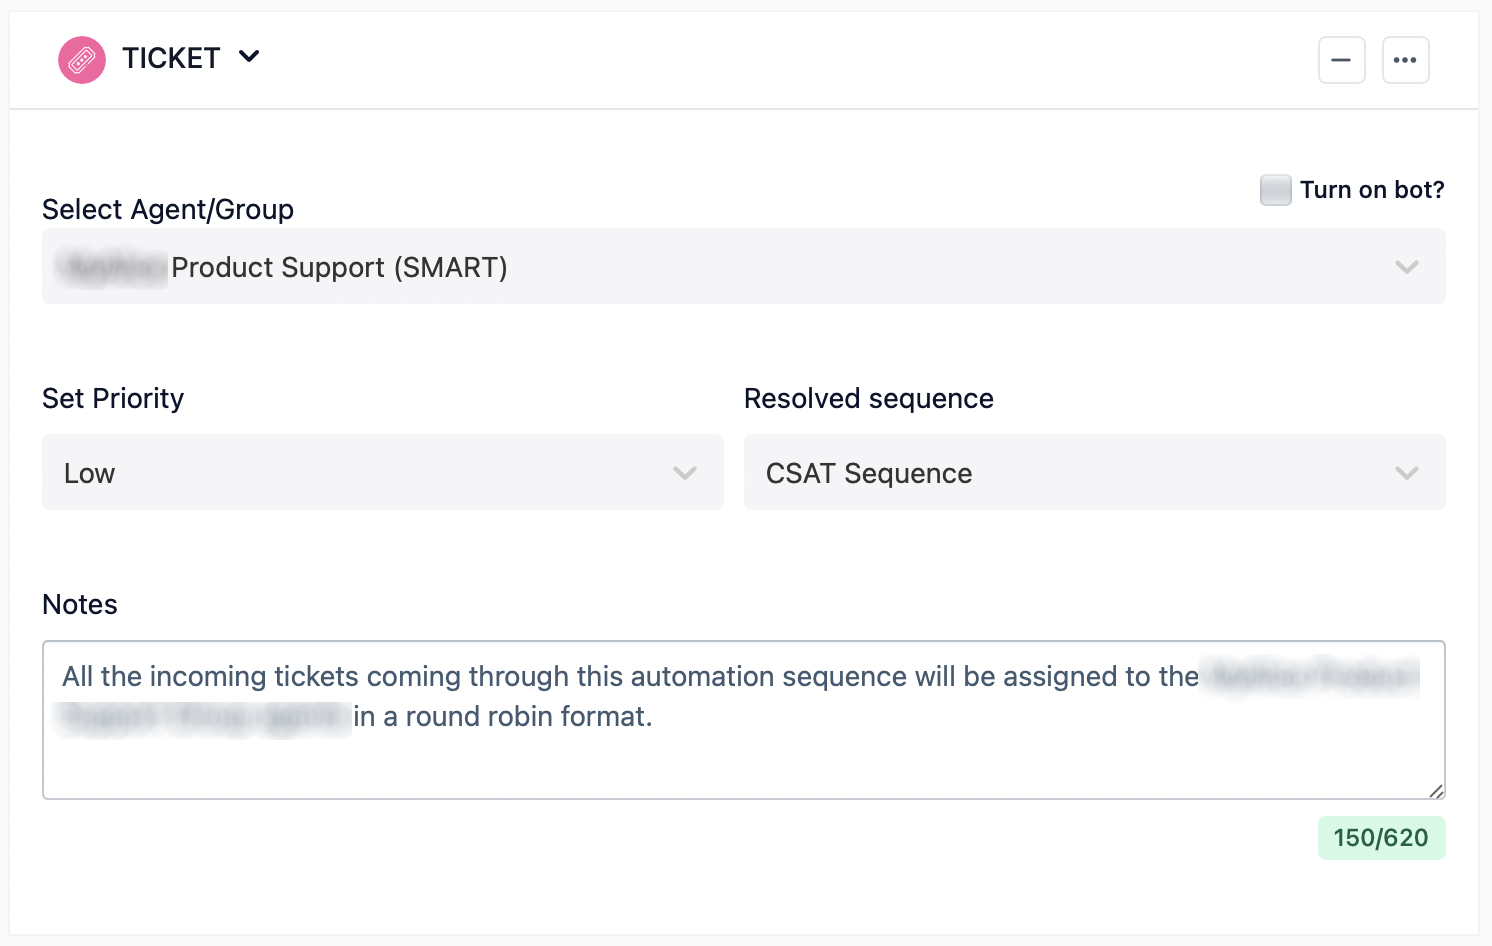
Say, you want to assign all incoming tickets to your support group. So, you place a Ticket Block in your Default Sequence and select the group for which you created the Smart Ticket Assignment Rule.
Now all the incoming tickets coming through this automation sequence will be assigned to the selected groups in a round-robin format. Agents will be able to view the assigned tickets in their My Queue folder.


